

Your gameplay looks smooth, but your facecam has moving dark stripes or keeps getting brighter and darker. Before changing OBS bitrate, reinstalling drivers, or buying a new webcam, test the lighting. Webcam flicker under LED lights often comes from a mismatch between the light’s brightness cycle and the camera’s exposure timing, while some slower brightness changes come from automatic exposure reacting to the scene.
The fix depends on which effect you actually see. A 50/60 Hz anti-flicker setting may help under some lights; a dimmed RGB strip driven by a separate electronic pulse rate may need a different adjustment.
The guide to smart streaming gear upgrades explains why a useful key light can be a better first improvement than a higher-resolution webcam. That applies here too: stable light and a compatible exposure setting are more valuable than sharper footage with visible bands.
Tell LED banding from automatic exposure changes
Moving horizontal bands usually suggest that the camera is sampling a light whose brightness changes very quickly. The bands may creep up or down the image even though the room looks steady to your eyes. A camera often captures different parts of the image at slightly different moments, so rapidly pulsing light can leave bright and dark stripes.
The whole picture slowly brightening and darkening suggests another possibility: auto-exposure. A webcam may change its exposure when a bright game menu appears on your monitor, you lean closer to a light, or a window brightens. That can look like flicker, but correcting the LED’s frequency alone may not help.
If the camera freezes, disconnects, or drops actual frames, check its USB connection, source format, and capture workload separately. A lighting adjustment cannot repair a failing video connection.
Run a short test before changing settings
Make a short local recording with your webcam large enough to inspect. Keep OBS open, but simplify the test to one camera source if possible. First, film under your usual key light and RGB strips. Next, switch off one light at a time, or use steady daylight where practical, and record again. Keep the camera and its position fixed.
If the stripes vanish when one lamp is off, that lamp or the camera’s interaction with it is a stronger suspect than your encoder. If the whole picture changes whenever bright on-screen content changes, keep that content static and compare automatic versus manual exposure if your camera offers both. Avoid changing lighting, exposure, and frame rate together; otherwise you cannot tell which change worked.
Try the webcam’s 50/60 Hz anti-flicker setting
Open the camera manufacturer’s utility and look for Anti-flicker, Power Line Frequency, or a similar control. On compatible Elgato Facecam models, Camera Hub’s exposure and processing guide describes 50 Hz and 60 Hz anti-flicker choices and an important limitation: that setting applies with automatic exposure, while manual exposure uses shutter-speed control instead.
Choose the setting that matches your area’s electricity frequency, then record another short clip. Many regions use 50 Hz; others, including the United States, use 60 Hz. Check the local supply rather than assuming that your webcam should always match the 60 fps setting of your stream. Power-line frequency and video frame rate are different settings.
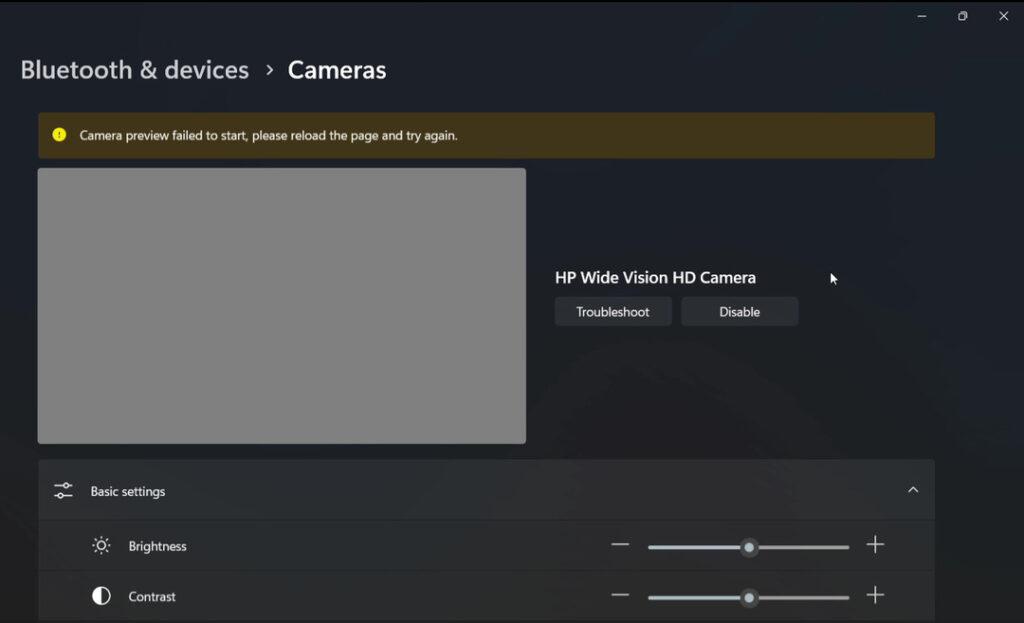
Some webcams expose this option through a driver panel in their video-capture source properties; others require vendor software, and some offer no control at all. Do not follow a tutorial’s menu path if the option does not exist on your model or operating system.
When the 50/60 Hz switch does not fix LED strips
Not every LED follows the room’s mains-frequency rhythm. Many dimmable LED and RGB products control brightness through pulse-width modulation (PWM): the light switches on and off quickly, and the proportion of on-time determines how bright it looks. ENTTEC’s technical explanation of PWM camera flicker shows why a camera can record bands even when people cannot see any flickering.
A practical test is to raise a dimmed LED fixture toward full brightness, if comfortable and safe, then adjust the camera’s exposure to compensate. Some PWM-driven lights show less banding at higher output, but this depends on the fixture. You can also try a different lamp or move the flickering RGB element out of the camera frame. If manual shutter-speed control is available, change it gradually while watching a recorded sample. There is no universal shutter value that fixes every LED driver.
Do not replace all your lighting based on a single bad preview. First identify which fixture causes the effect and whether a reversible camera or dimmer setting solves it.
Keep a stable facecam after the bands disappear
Once the stripes are gone, check the other kind of flicker: shifting overall brightness. With consistent front lighting, a supported manual exposure setting can prevent the webcam from chasing bright game screens. Make sure your face remains properly exposed and movement does not become unnaturally blurred. If lowering exposure makes the image noisy, improving the light on your face is often a better next move than maximizing camera gain.
Finally, check a local recording and the actual livestream from another device. If banding appears in the recording, keep investigating the camera-and-light setup. If the camera recording is clean but the broadcast has stutters or freezes, look into the streaming or playback path instead.
The fastest diagnosis is to change the light first, then the camera setting, and test each separately. You should be able to tell whether the real problem is power-frequency flicker, PWM dimming, auto-exposure, or something unrelated before spending money on new hardware.